Necromunda: How to Resolve Hits to Vehicles, an Illustrated Guide

Welcome to the ashy, bleak world of Necromunda: Ash Wastes! As you dive into vehicular combat, understanding how to resolve hits and damage to vehicles is crucial for smooth gameplay. This illustrated guide will walk you through the process step by step, helping keep your games running as flawlessly as Necromunda rules allow.
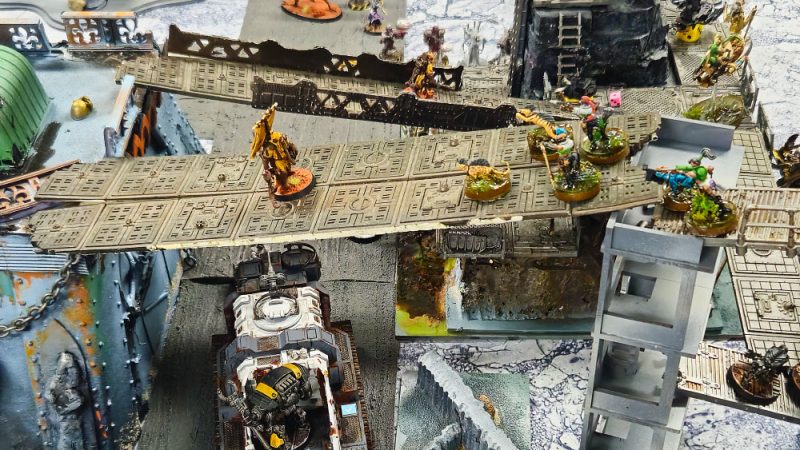
Hypothesis: You Want to Shoot at a Cargo-8 Ridgehauler
Let’s start by reviewing the forces on each side and making some assumptions.
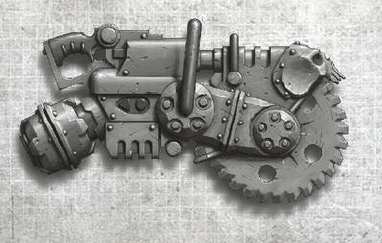
Your fighter has a Ballistic Skill of 4+ and is equipped with an Autocannon (Heavy Weapon)

- The fighter has Line of Sight on the front vehicle.
- The vehicle doesn’t benefit from any cover and is Mobile (the default status).
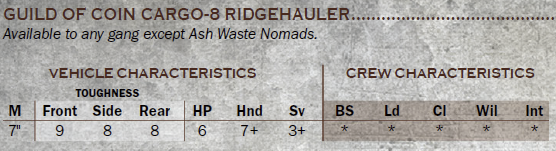
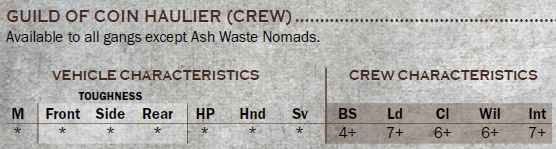
Vehicle and Crew stats:
Hit Roll of the Shoot (Basic) Action
You roll a D6, needing a 4+, along with the Firepower dice.
You scored 2 hits because the Autocannon has Rapid Fire (1)!
Wound Roll to Wound the Vehicle
You have hit twice with a weapon of Strength 7. The Front Toughness of the Cargo-8 is 9, so you need to roll a 5+ to wound.

You’re in luck! You’ve wounded twice!
Save roll made by the Vehicle’s crew
Even vehicles have a save, thanks to their crew. Their save is 4+, and they can attempt to save each wound. However, the weapon has an AP of -2. They would need two 6 to save those wounds.

As your opponent has failed their save, we can now work out the damage!
Damage Rolls!
That’s only now that the vehicle context matters.
Location Dice: You have to roll a number of Location Dice equal to the number of unsaved wounds. In this example, you will roll a total of 2 Location Dice.
Damage Dice: As the Autocannon used is a Damage 2 weapon, for each location dice you have to roll, you’ll roll 2 Damage Dice. Only one damage result is applied per hit, regardless of how many Damage dice are rolled. Extra dice increase the chance of significant damage.
According to the rules, you need to roll the location and damage dice simultaneously. The best approach is to roll each hit (in this case, 1 location die and 2 damage dice) one after the other, then apply the results together.
Results
1st Roll for Damage

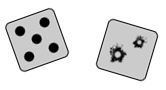
You rolled Crew on the location dice and you rolled Glancing hit and Penetrating hit on the Damage Dice.
2nd Roll for Damage

You rolled Engine on the location dice and you rolled Catastrophic hit and Glancing hit.
Since only one damage dice result can be picked per hit roll, you’ll likely choose these two results to apply:
- Penetrating hit on the Crew (the crew gets a Flesh Wound, their BS and handling check are reduced by 1)
- Catastrophic hit on the Engine (the vehicle loses 2 HP and makes a loss of control test at -1)
Loss of Control test
This is done by rolling a Handling Check. Use the Handling characteristic and apply any necessary modifiers.
- The Handling characteristic of the vehicle is normally 7+, but due to the Penetrating hit on the crew, it’s now at 8+.
- In addition, the loss of control test required by the Catastrophic hit on the Engine has to be made at -1.
Your opponent rolls 2D6, aiming for a result of 9 or more after applying modifiers.
Unlucky! The loss of control test has failed, and the crew is losing control!
Consequences of Losing Control
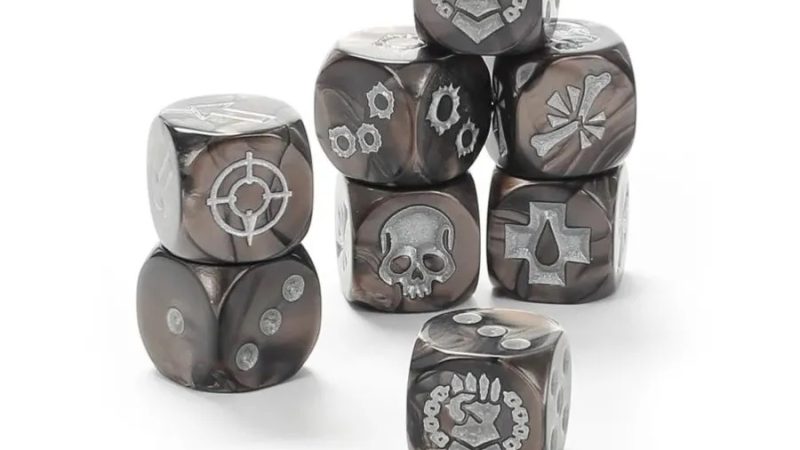
To determine what happens to the vehicle, your opponent rolls a D6 and a Control Dice.
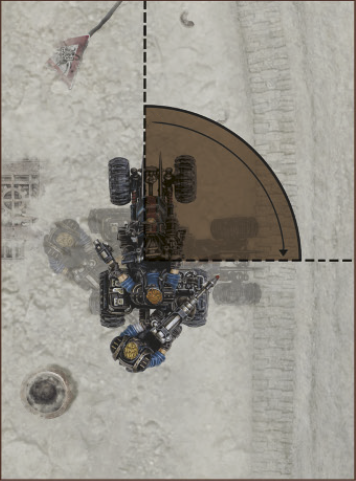
If they roll Swerve (a 45° turn) or Jack-knife (a 90° turn) on the Control Dice, the direction to turn the vehicle is indicated by the D6:
- 1-3, the vehicle turns left.
- 4-6, the vehicle turns right.

They roll a 4 and Jack-knife, so your opponent can now pivot their vehicle 90° to the right. As the vehicle is Mobile, it is then moved forward by half its movement characteristic, 3.5″ for a Cargo-8.
And done! You’ve resolved your first shot against this vehicle!